

An Adjustable Hole Saw is a practical cutting tool for producing different-sized circular openings. Its adjustable arms or movable cutters replace several fixed hole saws. With one arbor, a worker can cut openings for pipes, cables, vents, and fittings.
The mechanism is simple. A pilot drill centers the tool. Hardened teeth then scrape through the material. The cutter diameter changes by sliding or repositioning its blades. Tight adjustment matters. A loose blade can create vibration, rough edges, or dangerous kickback.
It is not magic.
Grand View Research and Freedonia industry reports place hole saws within broader power-tool and cutting-accessory markets. They do not always publish separate figures for adjustable models. That limitation matters. Market claims can look precise while hiding product differences. Professional selection still depends on material, diameter range, tooth design, and operating speed.
Tom Silva, a master carpenter associated with This Old House, often repeats a practical workshop rule: “Measure twice, cut once.” The principle fits Adjustable Hole Saw work closely. A marked center, stable pressure, and suitable speed usually produce a cleaner opening. Experience also teaches restraint. Forcing the cutter may save seconds, then damage the workpiece.
This guide explains what an Adjustable Hole Saw contains, how its cutting action works, and where its design performs best. It also examines common limitations, including uneven walls, thin sheet metal, and excessive blade spread. Safety remains part of accuracy, not an afterthought. Always follow the manufacturer’s instructions, use eye protection, and match the tool to the material.
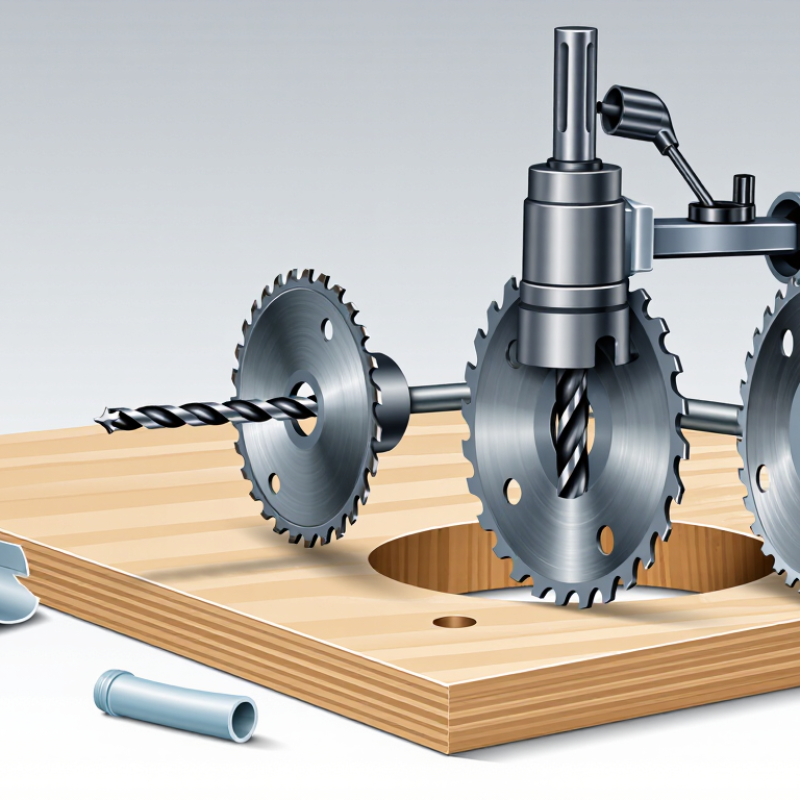
An adjustable hole saw is a cutting tool for making round openings in wood, plastic, plasterboard, and some thin metals. Unlike a fixed-size hole saw, it uses movable cutting blades or a sliding cutter system. You can change the cutting diameter to suit different holes. A central pilot drill helps keep the tool steady as it enters the surface.
The tool usually attaches to a drill through an arbor. As the drill rotates, the pilot bit starts the opening, while the outer cutter removes material around it. For clean results, mark the hole center and secure the workpiece firmly. Use moderate pressure and let the teeth cut gradually. Excessive force can cause vibration, rough edges, or overheating. It is not perfect for every material. Thick steel and dense masonry may require a different cutter.
Tips: Check the blade position before drilling. Tighten every adjustment point. Start slowly, especially on smooth surfaces. Clear chips often. Wear eye protection and avoid loose clothing near the rotating drill. I sometimes stop halfway to inspect the cut, because small alignment errors become obvious later. A backing board can reduce splintering when the cutter exits wood. Practice on scrap material first; the stated diameter may vary slightly with blade wear and setup.
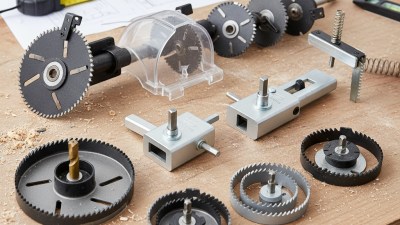
An adjustable hole saw uses one arbor to create holes in several diameters. Unlike a fixed hole saw, its cutting width can change. The arbor connects the tool to a drill chuck. It also supports the cutting assembly during rotation. A pilot drill sits at the center. That small point matters. It helps prevent wandering when the cutter touches wood, plastic, or thin metal.
The cutting assembly usually contains sliding blades or replaceable cutters. These parts move along radial slots to set the required diameter. A collar or guide plate keeps them aligned. Locking screws hold the cutters in position. They must be tightened evenly, or the hole may become uneven. In practical use, this adjustment system saves storage space. However, it is less rigid than a single-piece cutter. That weakness deserves attention.
To set the tool, measure the desired hole and position each cutter equally from the pilot drill. The operator then tightens the locking hardware before mounting the arbor. When the drill starts, the pilot enters first and steadies the cut. The outer blades remove material in a circular path. Moderate pressure usually produces better control than forcing the drill. If the blades sit at different distances, vibration can increase quickly. I have found that checking the screws again before cutting prevents many avoidable mistakes. Thin materials may also catch the cutters, so a steady feed and firm work support are important.
| Component or Feature | Category | Primary Function | How It Works | Typical Materials or Specifications |
|---|---|---|---|---|
| Central Arbor | Drive System | Connects the hole saw to a drill and transfers rotational force. | The drill chuck grips the arbor shank, causing the arbor and attached cutting assembly to rotate. | Commonly made from hardened steel; shank styles may include round or hexagonal designs. |
| Pilot Drill Bit | Guidance | Creates a starter hole and helps keep the cutter centered. | The bit enters the workpiece before the cutting teeth, reducing wandering during initial contact. | Usually a high-speed steel twist bit; some designs use replaceable pilot bits. |
| Adjustable Cutting Blades | Cutting System | Cut the circular opening in the workpiece. | One or more blades slide or reposition along a support plate so the cutting diameter can be changed. | Often manufactured from high-speed steel or carbon steel with hardened cutting edges. |
| Blade Slots or Clamps | Adjustment | Hold the blades in the selected diameter position. | Screws, clamps, or formed slots secure each blade and prevent it from shifting while cutting. | Requires firm tightening; loose clamps can cause vibration, uneven cutting, or blade movement. |
| Support Plate | Structural Support | Provides a stable base for the blades and connects them to the arbor. | The plate rotates with the arbor while maintaining the relative position of the cutting elements. | Typically stamped or machined from steel for rigidity and impact resistance. |
| Diameter Adjustment Range | Capacity | Defines the range of hole sizes the tool can produce. | The operator measures the required diameter and positions the blades symmetrically or according to the tool scale. | Ranges vary by design; many adjustable models cover several hole sizes with one tool. |
| Cutting Teeth | Cutting Detail | Shear and remove material from the circular cutting path. | As the drill rotates, the teeth progressively cut the perimeter while the pilot bit stabilizes the tool. | Tooth shape and spacing affect cutting speed, chip removal, and the suitable workpiece material. |
| Chip Clearance Area | Debris Management | Allows chips and waste material to leave the cutting zone. | Open spaces around the blades reduce clogging and help prevent excessive heat buildup. | More clearance is useful when cutting soft materials or workpieces that produce larger chips. |
| Locking Hardware | Security | Secures adjustable parts during operation. | Fasteners apply clamping pressure to the blades or adjustment mechanism before the tool is started. | Inspect threads and tighten with the correct tool; damaged hardware should be replaced. |
| Workpiece Compatibility | Application | Indicates which materials the adjustable hole saw can cut effectively. | Material choice, blade type, cutting speed, and lubrication must match the workpiece. | Common applications include wood, plastic, drywall, and thin sheet materials; heavy metal cutting requires a suitable rated cutter. |
| Operating Speed | Performance | Controls the rotational rate used for cutting. | A lower speed generally helps reduce heat and vibration when using larger diameters or cutting harder materials. | Follow the tool and drill manufacturer’s recommendations rather than using one speed for every material. |
| Cutting Lubrication | Cooling | Reduces friction and heat when cutting suitable materials. | Lubricant is applied to the cutting area when recommended, especially for metal applications. | Use a material-appropriate cutting fluid; lubrication is generally not required for ordinary wood or drywall cutting. |
| Adjustment and Cutting Process | Operation | Explains the basic working sequence of an adjustable hole saw. | Measure the target diameter, position and tighten the blades, mount the arbor, start the pilot hole, and apply steady pressure while cutting. | Wear eye protection, secure the workpiece, and verify that all adjustable parts are tight before use. |
An adjustable hole saw uses a central arbor, pilot drill, and movable cutting blades. The arbor holds the assembly in the drill chuck. The pilot bit enters the surface first, keeping the cutter centered. Sliding blades then define the hole diameter. A locking collar or set screws secure their position.
During drilling, the blades rotate around the pilot point and remove a circular ring of material. This design covers several diameters with one tool, reducing storage and setup time. Grand View Research reported a projected 5.7% compound annual growth rate for the global power tools market from 2024 to 2030. That growth reflects demand for flexible equipment on renovation and maintenance sites.
In practice, blade balance matters more than speed. I set the diameter carefully, tighten both locks, and test the tool on scrap material. A loose blade can wander, heat up, or leave an uneven edge. It happens. Lower speed usually works better in steel, while moderate speed suits wood and plastic. Light pressure helps the teeth clear chips. For thick stock, I stop halfway and remove debris. The U.S. Bureau of Labor Statistics recorded 1,075 fatal work injuries in private construction during 2023. That figure does not measure hole-saw incidents, but it reinforces disciplined tool control. Eye protection, stable workholding, and a clear exit path remain essential.
An adjustable hole saw uses movable cutting teeth around a central pilot drill. You can change the cutting diameter for different openings. This design is practical when one fixed-size saw cannot meet the measurement. However, adjustable parts need careful tightening. A loose cutter may vibrate, cut unevenly, or damage the workpiece.
Mark the hole center clearly before drilling. Measure twice. Choose the required diameter, then position the cutting teeth evenly around the pilot bit. Tighten every adjustment point with the proper tool. Secure the material on a stable surface, and check that no cables or pipes are hidden behind it. Wear eye protection and keep loose clothing away from the drill.
Set the drill to a controlled speed, especially when cutting metal or thick wood. Place the pilot bit on the mark and start slowly. Keep both hands steady. Let the teeth remove material without forcing the tool. Stop occasionally to clear chips and check the cut. When the pilot bit passes through, reduce pressure to prevent splintering on the exit side. A backing board can produce a cleaner edge. In practice, beginners often rush the final few millimeters. That is where uneven pressure causes problems. Inspect the hole, smooth sharp edges, and retighten the cutter before the next use.
An adjustable hole saw cuts circular openings in several diameters. Its cutting teeth move along a slotted metal body or adjustable plate. A central pilot drill guides the tool and helps prevent wandering. By changing the teeth position, one saw can handle different hole sizes. This saves storage space, but adjustment accuracy matters.
Adjustable hole saws are useful for installing pipes, cable passages, vents, and recessed lights. They work well on wood, plasterboard, plastic, and some thin metals. Always check the tool’s material limits before cutting. A setting suitable for softwood may perform poorly on sheet metal. The difference can be costly.
Secure the workpiece firmly before drilling. Mark the center clearly, then check for hidden wires, pipes, or structural supports. Wear safety glasses and avoid loose clothing near the rotating drill. Use a suitable speed, especially when cutting metal, because excessive heat damages teeth. Keep both hands on the drill when possible. Never force a binding saw. Stop, disconnect power, and clear the obstruction safely.
Inspect the pilot bit, teeth, and locking screws before every use. A loose adjustment can create an uneven hole or dangerous vibration. For thin sheet material, support the back surface to reduce tearing. I have found that rushing the setup causes more problems than the cutting itself. Sometimes, a fixed-size hole saw is safer and more precise. Recheck the diameter before drilling; a small measurement error may ruin an expensive panel.