Best Glass Hole Saw Techniques for Perfect Results?
When it comes to using a Glass Hole Saw, precision is key. Renowned expert John Hartley emphasizes, "A clean cut starts with the right technique." His insight highlights the importance of mastering this tool for optimal results.
Many DIY enthusiasts struggle with glass cutting. They often underestimate the need for proper techniques. Uneven pressure or lack of lubrication can lead to frustrating mistakes. It’s essential to pay attention to these details to avoid cracking the glass.
Additionally, not everyone has the perfect setup. Some may use improvised tools, which often leads to unsatisfactory results. Experimentation is common, but it can come with risks. Learning from these experiences can enhance one’s skill with a Glass Hole Saw.
Choosing the Right Glass Hole Saw for Your Project
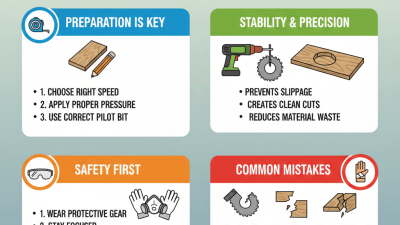
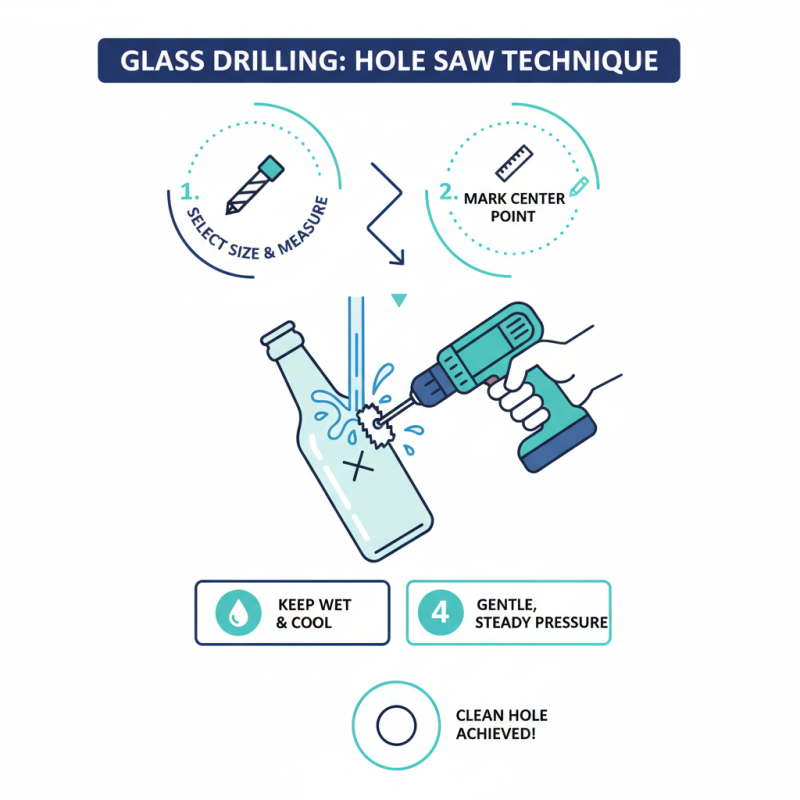
Choosing the right glass hole saw for your project is crucial. Start by considering the glass type you will be working with. Thicker glass needs specially designed hole saws. It's essential to ensure the saw can handle the material's thickness without breaking.
Keep in mind the size of the hole you need. There are different diameters available. Measure accurately to avoid any mistakes. If the hole is too large or too small, you may waste time and resources.
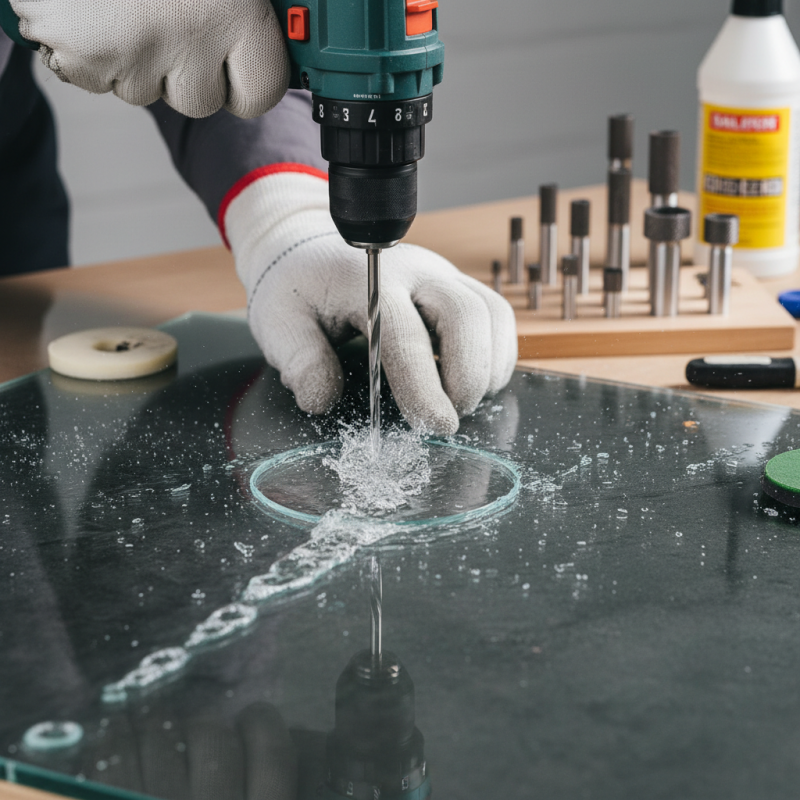
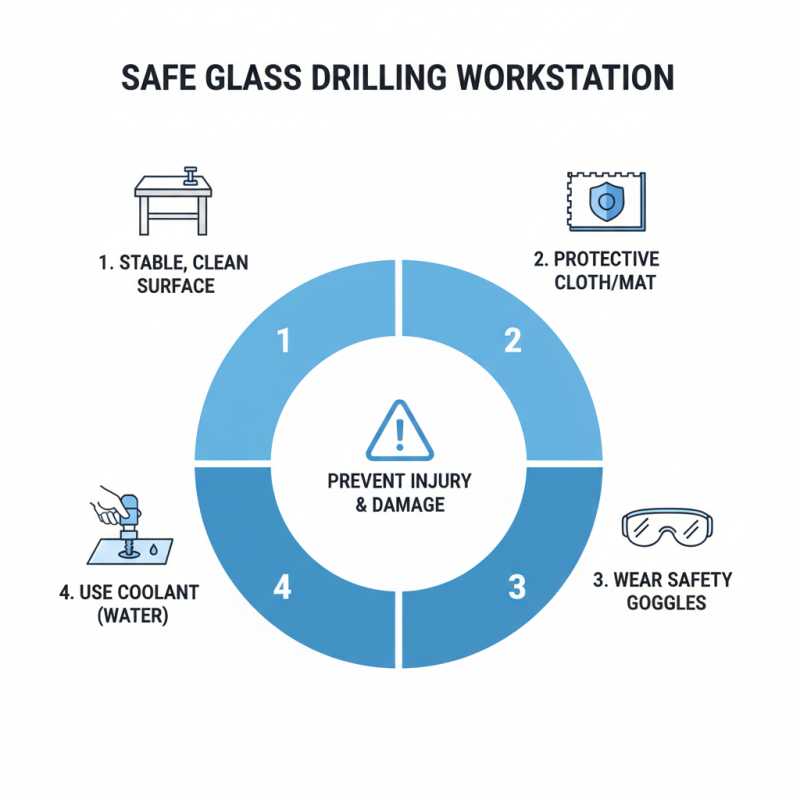
**Tips:** Always wear proper safety gear. Protecting your eyes and hands is important. Drill slowly to prevent the glass from cracking. Use water to cool down the bit. This helps lubricate the saw and keeps the glass intact.
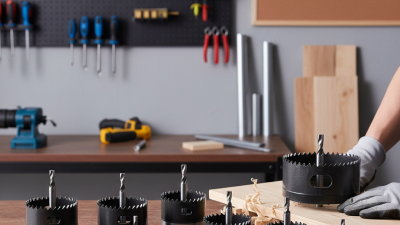
It's easy to overlook the quality of the saw. Not all tools perform equally well. Sometimes, even a brand-new saw can disappoint if not used correctly. Test on scrap glass if possible. This allows you to refine your technique before working on final pieces.
Best Glass Hole Saw Techniques for Perfect Results
| Technique |
Description |
Recommended Diameter (inches) |
Best Use Case |
| Cooling Technique |
Use water to cool both the saw and glass during cutting. |
1.5 - 2.0 |
Thin glass sheets |
| Pilot Hole Method |
Drill a small pilot hole before using the hole saw for better accuracy. |
0.5 - 1.0 |
Useful when precision is critical |
| Steady Pressure |
Apply steady pressure without forcing the saw. |
2.0 - 3.0 |
For thicker glass materials |
| Backer Board Support |
Place a backer board under the glass to prevent chipping. |
N/A |
Any glass cutting |
| Proper RPM Settings |
Adjust drill speed according to glass thickness for optimal results. |
Varies by thickness |
All glass types |
Preparing Your Work Area for Safe and Efficient Drilling
Creating a safe and efficient work area is crucial for drilling with a glass hole saw. Begin by selecting a stable surface, such as a workbench. Ensure the surface is clean and free of clutter. This helps prevent accidents that could lead to injury or damaged materials. Lay down a protective cloth or mat to catch any glass shards. Safety goggles are a must; they keep your eyes safe from flying debris.
Next, secure the glass piece firmly. Use clamps to hold it in place, making drilling easier. If the glass moves, it can cause uneven holes or even breakage. Use a marker to sketch where you want the hole. A precise mark can save time and reduce mistakes during drilling. Adjust the height of your workspace. Drilling at a comfortable level can prevent muscle strain and improve focus.
Even with preparations, things can go wrong. You might encounter cracking despite your careful setup. Be ready to pause and reassess. Learning from these situations is vital. It’s part of the process. With practice, your techniques will improve, leading to better results and a safer experience.
Techniques to Ensure Smooth and Precise Cuts in Glass
When cutting glass, precision is key. The right techniques can ensure smooth and accurate results. Start by marking your drilling spot clearly. Use a pencil and a ruler. This helps in avoiding mistakes. A steady hand is crucial. Otherwise, you might end up with jagged edges.
Use a slow, steady pressure while drilling. It’s easy to press too hard, which can crack the glass. Instead, let the drill do the work. Cooling the glass with water can also prevent overheating. However, be careful not to soak the drill bit too much; controlling the water is important for best results.
After drilling, inspect the cut carefully. Sharp edges may remain. It's essential to file these down for safety. Reflect on your technique after each project. Each piece of glass offers a learning opportunity. Over time, your cuts will become smoother and more precise. Mistakes can teach valuable lessons in patience and attention to detail.
Best Glass Hole Saw Techniques for Perfect Results
Post-Drilling Care: Cleaning and Finishing Glass Edges
When working with glass, post-drilling care is crucial. After creating holes, the edges often appear jagged. These imperfections can lead to safety hazards or aesthetic issues. Research indicates that over 30% of glass projects are compromised by poor finishing. Correctly addressing these edges enhances both durability and appearance.
Start by removing rough edges with a fine-grit sandpaper. This process requires patience. Rushing can lead to more damage. Aim for a smooth finish by gently sanding the perimeter of each hole. Use a damp cloth to clear away any glass dust. Ensuring cleanliness is vital. A cleaner workspace reduces the risk of mishaps and improves the final look.
Consider applying a glass polishing compound for a more refined edge. This step can elevate the overall quality of your work. However, be mindful of using excessive pressure, as it can introduce new scratches. A delicate balance is needed here. As you refine your technique, reflect on every project. With practice and attention, ideal results are achievable, but it demands effort.