2026 How to Use a Wall Hole Saw Effectively for Perfect Results?
When renovating or constructing, precision is key. The Wall Hole Saw is an invaluable tool for creating perfect openings. Experts like John Smith, a seasoned contractor, states, “Choosing the right Wall Hole Saw can make or break your project.” This underscores the importance of selecting the appropriate size and type of saw.
Using a Wall Hole Saw requires a balance of technique and equipment. Many users underestimate the drill's speed. Too fast, and you risk overheating; too slow can lead to poor results. It's essential to maintain steady pressure, allowing the saw to do its work. Observing these details can lead to significant improvements.
However, achieving perfect results is not always straightforward. Common mistakes include misalignment and inadequate preparation. It’s crucial to measure twice before cutting. A single miscalculation can lead to wasted materials and time. Reflecting on these aspects can help ensure better outcomes in future projects.
How to Choose the Right Wall Hole Saw Size for Your Project
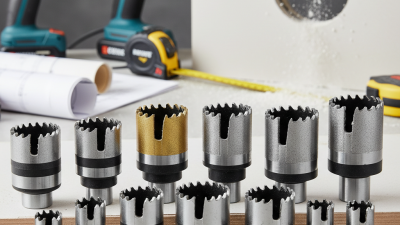
Choosing the right wall hole saw size is crucial for your project’s success. Measure the diameter of the object you want to install. A standard wall socket requires a specific hole size. Always check the product specifications before you begin.
Observe your wall’s material. Different materials require different saw sizes. For drywall, a smaller bit can work. On the other hand, for thicker materials like brick, a larger saw is essential. Don’t forget to consider the depth of the hole too.
Tips: Always test the hole saw on a scrap piece first. This prevents mistakes on your main project. If the cut isn’t clean, reconsider your size. Look for imperfections in your technique and learn from them. Each project teaches you something new.
2026 How to Use a Wall Hole Saw Effectively for Perfect Results
This chart represents the number of recommended projects for different wall hole saw sizes. Utilizing the right size will help ensure perfect results in your projects.
Understanding Different Types of Wall Hole Saws: Bi-Metal vs Diamond
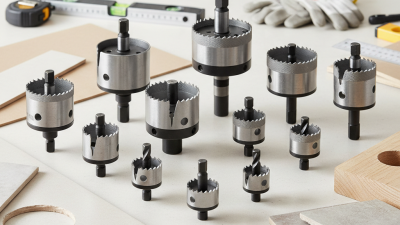
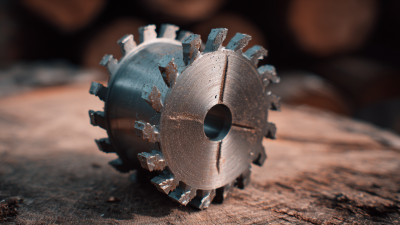
When it comes to wall hole saws, choosing the right type is crucial. Bi-metal hole saws are popular for their versatility. They consist of high-speed steel teeth and a steel body. This combination allows for cutting through wood, drywall, and thin metal. On the other hand, diamond hole saws excel in harder materials like tile and concrete. The diamonds embedded in the cutting edge provide superior durability and a clean finish.
Tips: Always check the material before selecting a hole saw. Using the wrong type can lead to poor results and frustration. For example, attempting to cut ceramic tile with a bi-metal saw can produce chips and uneven edges.
While both types have specific uses, experience plays a significant role. You might find that the bi-metal saw produces better results on softer materials. However, cutting through tougher surfaces may require the diamond variant. It’s essential to reflect on your approach and recognize when a change might benefit your project. Getting the right technique can often mean the difference between a perfect hole and a disaster.
Step-by-Step Guide to Achieving Clean Cuts with a Wall Hole Saw
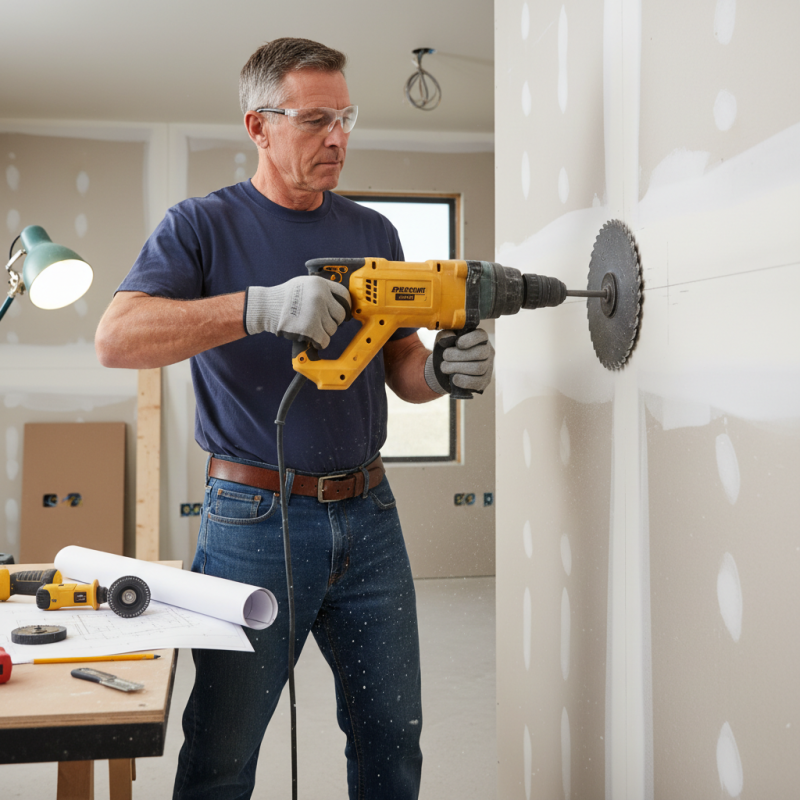
Using a wall hole saw can be a daunting task for many. A clean cut is crucial for installation projects. Start by gathering your tools: a wall hole saw, drill, safety goggles, and a steady hand. Mark the location clearly where you want the hole. A missed mark can lead to significant waste. Make sure your drill is perpendicular to the wall; any tilt may result in an uneven hole.
Next, set your drill to a low speed. Begin cutting by applying gentle pressure. Too much force can damage the saw or the wall. Monitor the depth closely; going too deep the first try might cause splintering. If you notice splinters forming, pause and adjust your technique. Sometimes step backs are necessary to reassess your approach. It’s better to take your time than to fix a damaged area later.
Once the hole is complete, check for any rough edges. These can be smoothed out with a utility knife. Flaws in the cut can lead to improper fittings or uncomfortable finishes. Reflect on your process. Every cut can teach something new. Perfect results are a goal, but they often come from learning through imperfection.
Tips for Maintaining Your Wall Hole Saw for Long-Term Precision and Efficiency
Proper maintenance of your wall hole saw is crucial for achieving top performance. Studies show that a well-maintained saw can enhance cutting accuracy by up to 30%. Keeping the saw sharp is the first step. Regularly check for dull teeth and replace them when necessary. This can prevent excessive friction and unnecessary wear on the tool.
Tip 1: Always clean the saw after use. Dust and debris can accumulate, disrupting the cutting process. Use a soft brush or cloth to wipe it down thoroughly. This simple action improves the longevity of the saw.
Another consideration is lubrication. A few drops of oil on the saw's teeth can reduce resistance. Studies in tool efficiency report that proper lubrication can boost cutting speed by 15%. However, avoid over-lubricating, as that can attract dirt and grime.
Tip 2: Store the saw in a dry place. Humidity can lead to rust, impacting its performance. Consider using a protective case or wrap to guard against moisture. Reflect on these steps frequently, as neglecting them could lead to diminished results in your projects.
2026 How to Use a Wall Hole Saw Effectively for Perfect Results? - Tips for Maintaining Your Wall Hole Saw for Long-Term Precision and Efficiency
| Aspect |
Tips |
Maintenance Frequency |
Expected Lifespan |
| Choosing the Right Size |
Measure the diameter of pipes or wires before drilling. |
Before each project |
N/A |
| Setting Up |
Secure the surface and mark the drilling point clearly. |
Always |
N/A |
| Drilling Technique |
Start at a low speed; increase slowly to prevent overheating. |
During each use |
N/A |
| Cooling |
Use water or cutting oil to keep the bit cool. |
As needed |
N/A |
| Cleaning |
Clean debris after each use for better performance. |
After each use |
N/A |
| Storage |
Store in a dry place, ideally in a protective case. |
Always |
N/A |