Why Choose a Wall Hole Saw for Clean Cuts?
A clean opening matters when a wall needs a precise opening for a pipe, cable, or ventilation duct. A Wall Hole Saw can help create that cut with less splintering and fewer rough edges, especially when the tool matches the wall material and diameter. The result is not automatic. Steady pressure, a secure drill, and careful marking still matter.
“[Insert a verified quotation from a named Wall Hole Saw or drilling specialist about clean, controlled cuts.]” A sourced expert comment can clarify why sharp teeth and a suitable cutting speed make a visible difference. Without a verifiable source, attributing a quotation to a named specialist would risk misleading readers.
This guide explores why installers choose a Wall Hole Saw for cleaner cuts, how the right design supports control, and what can go wrong when the tool is poorly matched to the job. Small details count. A pencil circle placed accurately helps. So does clearing dust before it hides the cut line. Even with good equipment, wall materials vary, and some openings need a slower approach. That deserves a closer look. A clean edge is useful, but safe handling and a sound finish matter just as much.
What a Wall Hole Saw Is and How It Works
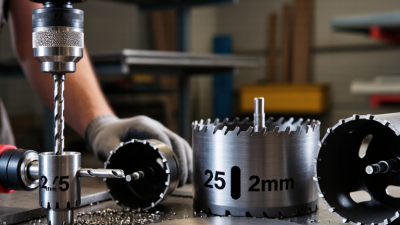
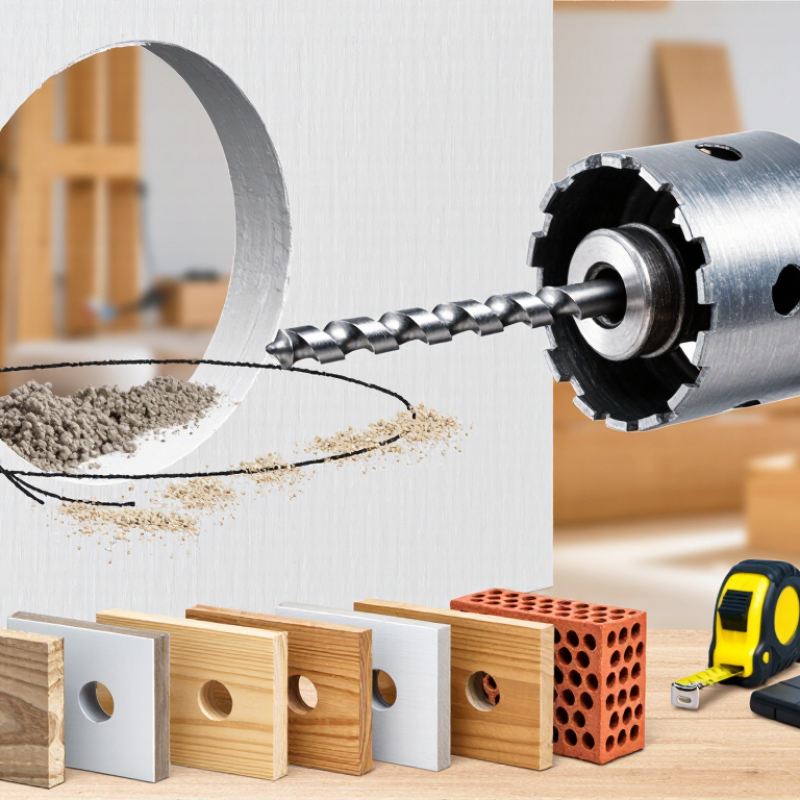
A wall hole saw is a cup-shaped cutter designed to make round openings in wall materials. Its toothed rim cuts the circle, while a central pilot bit helps guide the tool and reduce wandering. The saw attaches to an arbor, which connects it to a compatible drill. Different teeth suit different materials, so a cutter for drywall may not be appropriate for tile, plaster, or masonry. Check the tool’s specifications before starting.
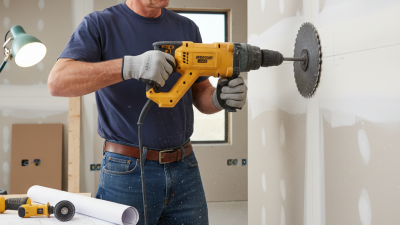
As the drill turns, the teeth gradually score and cut around the pilot bit. Use steady pressure rather than forcing the cutter; excessive force can snag the teeth or damage the wall surface. Teeth bite steadily. Keep the drill aligned with the wall, and pause if the tool begins to vibrate or overheat. A scrap piece of matching material can help you judge how the cutter behaves before making a visible opening.
A clean cut also depends on what lies behind the wall. Check for wiring, pipes, and framing before drilling, using reliable detection methods and confirming the planned opening is clear. That step matters. Dust and loose fragments are common, especially in older plaster, and the edge may still need light sanding. Even with a sharp saw, the result is not always perfectly neat.
How Its Design Helps Create Clean, Even Cuts
A wall hole saw creates a cleaner opening by guiding the cut around a fixed circle, rather than tearing a rough path through the surface. Its pilot bit helps keep the cup centered, while the toothed rim removes material around the edge. Even pressure matters: pushing too hard can make the saw chatter, chip plaster, or bind in dense material. The cup also helps contain the cutout, though it does not catch every fragment. Small details matter.
On drywall, sharp teeth and a steady pace can leave a neat edge; on masonry, the right cutter and dust control are essential. OSHA’s construction silica standard sets a permissible exposure limit of 50 micrograms per cubic meter of air, averaged over eight hours. That figure concerns exposure, not cut quality, but it underscores why masonry work needs careful dust management.
A hole saw’s even rim can reduce wandering, yet it cannot compensate for a dull cutter or a hidden pipe. I still find that the final edge sometimes needs light sanding. Check the wall material, use suitable eye and respiratory protection, and let the tool do the cutting.
Which Wall Materials Benefit from a Hole Saw
Gypsum board and plaster are among the clearest uses for a wall hole saw. The USGS Mineral Commodity Summaries 2024 estimated U.S. gypsum mine production at 22 million metric tons in 2023, reflecting the material’s broad use in construction. A sharp, correctly sized saw can leave a neat opening for a cable or recessed fitting, with less torn paper around the edge. Thin wood panels and softwood walls also cut cleanly with suitable toothed hole saws. Clamp loose panels, support the back where possible, and ease off as the teeth break through. That last step is easy to forget.
Tile needs a different approach. Use a tile-rated diamond-grit hole saw, low pressure, and cooling as directed for the tool; ordinary teeth can chip glazed surfaces. Brick and concrete generally need a purpose-made carbide or diamond core bit, plus suitable dust control. OSHA’s construction silica standard sets an eight-hour permissible exposure limit of 50 micrograms per cubic meter for respirable crystalline silica. Dust matters. A hole saw is not automatically cleaner: the wrong bit, poor support, or rushed breakthrough can still crack tile or damage the wall. Check for hidden wiring and pipes before cutting, and match the bit to the wall’s actual layers.
Why Choose a Wall Hole Saw for Clean Cuts?
Typical suitability of common wall materials for a standard toothed hole saw
Drywall, wood, and many plastics are generally well suited to standard hole saws, which can make neat circular openings for pipes, cables, and fixtures. Brick and concrete require a purpose-made masonry or diamond core bit; use the tool and cutting method specified for the material.
Suitability ratings are qualitative guidance, not measured test results. Actual performance depends on the hole saw, material, and installation.
How to Choose the Right Hole Saw for the Job
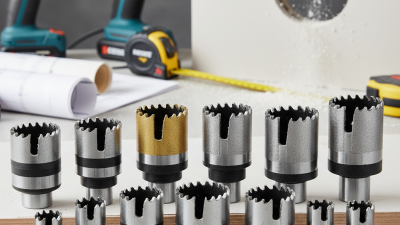
Choosing a wall hole saw starts with the wall material, not just the hole diameter. For wood framing or plastic, a bi-metal saw is often suitable; masonry usually needs carbide grit or teeth, while tile calls for a diamond edge. Match the cutting depth to the wall assembly, too. A short cup can stall in plasterboard over thick framing. Check the arbor fits the drill, and confirm the saw’s rated speed before cutting. Small details matter.
For a clean opening, measure the required diameter, mark the center, and check for wiring or plumbing before drilling. A pilot bit helps keep the saw steady, but it can wander on slick tile; a guide or careful starting angle may help. Dust deserves equal attention. OSHA’s 2016 respirable crystalline silica standard sets a permissible exposure limit of 50 micrograms per cubic meter over eight hours, with an action level of 25 micrograms. That makes dust control important when cutting masonry. Use suitable extraction and protective equipment. Speed is tempting, but pausing to check the material and setup often prevents a rough edge—or a costly mistake.
Safe Use and Care for Consistent Cutting Results
Why Choose a Wall Hole Saw for Clean Cuts?
A wall hole saw can create a neat opening for vents, pipes, or cable routes, but clean results start with preparation. Check the wall material and choose a saw designed for it. Before cutting, inspect both sides of the wall and use an appropriate detector to check for hidden wires or pipes. Wear eye protection and a suitable dust mask; plaster dust travels farther than expected. Secure the work area, and keep bystanders clear. I still pause before each cut, even on familiar walls. It is an easy step to rush.
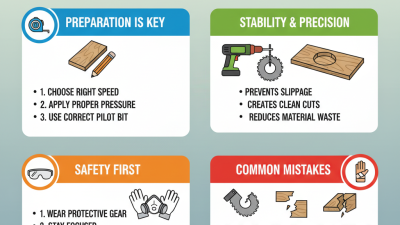
Tips: Mark the opening clearly. Keep the drill steady and let the teeth do the work. Don’t force a binding saw. Stop if the tool vibrates unusually or the cut meets unexpected resistance.
After cutting, unplug the drill before removing dust or checking the saw. Brush debris from the teeth, then inspect them for chips or dull spots. A damaged saw can wander and leave a rough edge. Store it dry, with its teeth protected, and follow the tool maker’s care instructions. Clean cuts also depend on control: start at a manageable speed, keep the saw square to the surface, and avoid pushing through the final layer. The exit can break away more easily than expected. A little cleanup may still be needed.