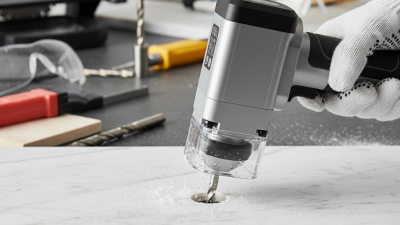
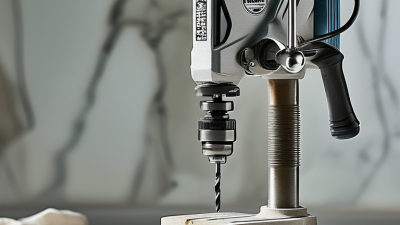
Top Diamond Hole Saws for Tile and Stone Cutting
A clean opening in tile or stone depends on more than a sharp-looking bit. Porcelain, ceramic, marble, and granite differ in hardness, thickness, and surface finish. A Diamond Hole Saw uses an abrasive diamond rim to grind through these materials, rather than conventional teeth. That difference can help create openings for pipes, fixtures, and anchors, but it does not guarantee a flawless cut. Glazed tile may chip, and dense stone can generate heat quickly. Small details matter.
This guide introduces top diamond hole saws for tile and stone cutting, with attention to practical features such as diameter, cutting depth, rim design, and cooling requirements. Check that each saw suits your material and drill, and follow the manufacturer’s speed and use instructions. Wet cutting can help manage heat and dust when the tool is designed for it; other models may specify dry use. Keep the tool steady, use light pressure, and support the workpiece where possible. Rushing often leaves a rough edge. The best choice is not always the most expensive one, and product descriptions can omit details that matter on site. Compare specifications carefully, then consider how often you will use the saw and how clean the opening must be. A careful match makes the work more predictable, though some trial and adjustment may still be needed.
Diamond Hole Saws: Design and Cutting Mechanism
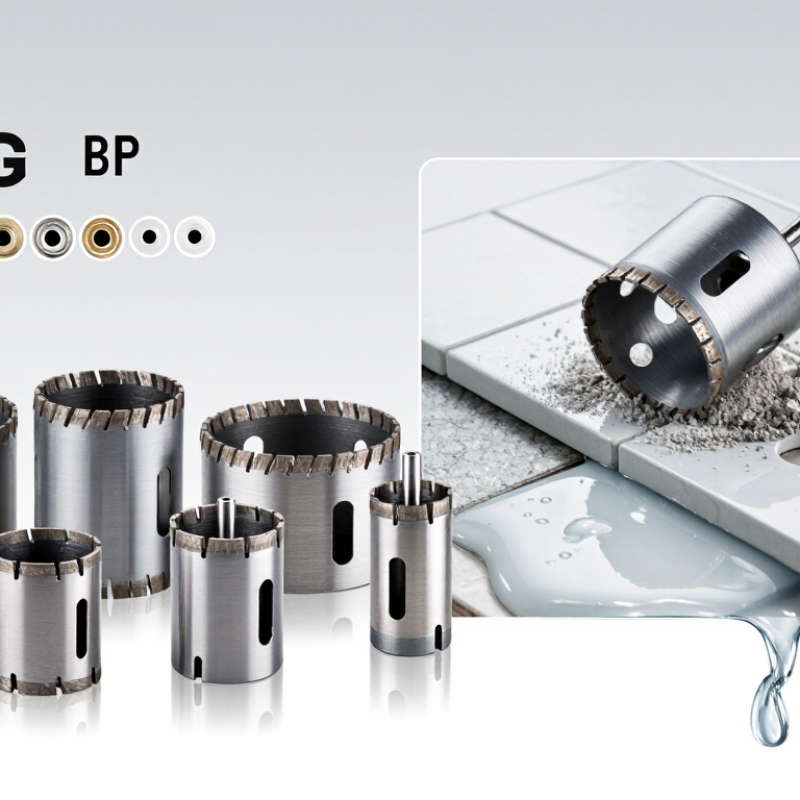
A diamond hole saw removes tile and stone through abrasion rather than teeth. Its rim carries diamond grit held in a metal bond. As the cup rotates, exposed diamond particles grind a narrow circular path. The bond gradually wears, revealing fresh grit. Small detail, big difference.
Rim design affects how the tool meets the surface. A continuous rim supports smoother contact on brittle tile, while a segmented rim can help clear debris in some cutting conditions. The best choice depends on the material and the saw’s instructions. Porcelain, marble, and natural stone do not behave alike. Water commonly cools the rim and carries away abrasive slurry; use it only when the tool is rated for wet cutting. Keep the saw aligned and apply steady, light pressure. Forcing it can cause heat, wandering, or edge chipping.
A guide can help prevent skating when the cut begins. Once a shallow groove forms, keep the cup square and let the diamonds do the work. Avoid hammer action unless the manufacturer specifically permits it. There is no universal speed or pressure setting, and that can be frustrating. Check the tool guidance, test on a spare piece, and inspect the hole edge before continuing.
How to read this chart: At a fixed 600 rpm, a larger hole saw has a higher rim speed. Values are calculated from diameter and rotational speed using rim speed = π × diameter × rpm ÷ 60. They illustrate the cutting mechanism, not recommended operating speeds; follow the tool maker’s guidance for the material and bit.
Tile and Stone Materials Suitable for Diamond Hole Saws
Tile and Stone Materials Suitable for Diamond Hole Saws
Diamond hole saws can cut ceramic, porcelain, granite, marble, and slate, but each material responds differently. Dense porcelain is especially demanding: ISO 13006:2018 classifies dry-pressed porcelain tile as BIa when water absorption is no more than 0.5%. That low absorption signals a dense body, not an easy cut. ASTM C373-18 specifies how ceramic tile water absorption is measured. Use a suitable diamond rim, steady pressure, and water where the tool and tile allow it. Keep it cool. Excess heat can damage the cutting edge or crack a glazed surface.
Natural stone varies more than its appearance suggests. Granite is typically hard and may contain abrasive minerals; marble is softer but can chip, while slate may split along its natural layers. Support the tile fully, mark the hole, and start slowly to reduce wandering and edge breakout. A small test cut on an offcut is useful. I would not assume two slabs of the same stone behave alike; mineral content and existing flaws matter. For glass or highly polished tile, check the tool’s stated compatibility and avoid forcing the cut. Steady hands help, but they do not make every material predictable.
Key Features of Top Diamond Hole Saw Designs
A well-designed diamond hole saw starts with its cutting edge. A continuous rim suits glazed tile, helping limit edge chipping around plumbing openings. Segmented rims can clear debris faster in harder stone, but may leave rougher edges. Choose the rim for the material, not just the hole diameter. A thin, even diamond layer cuts smoothly; uneven wear can make the bit wander. Check that the arbor sits true, too. Small wobble becomes visible on polished stone.
Cooling and debris removal matter just as much. Wet-use designs help control heat and carry abrasive slurry away from the cut. OSHA’s 2016 respirable crystalline silica standard sets an eight-hour permissible exposure limit of 50 micrograms per cubic meter, with an action level of 25 micrograms. That benchmark underscores why stone drilling needs careful dust control, not casual dry cutting. Use water where the tool permits it, secure the tile, and begin at a slight angle before leveling the saw. Keep pressure steady; forcing the cut can glaze the diamonds or crack brittle porcelain. Even experienced installers sometimes overfeed when a cut slows. That is worth reconsidering. Check the core regularly, since trapped debris can blunt progress and heat the rim.
How to Choose the Right Saw Diameter and Type
Choosing a diamond hole saw starts with the finished hole, not the tool on the shelf.
Measure the pipe, anchor, or fitting that must pass through, then allow a little clearance. A hole that is too tight can chip when the fitting is installed. Too wide, and the gap may need extra finishing. Check the saw’s actual cutting diameter; labels and measurements can differ slightly.
Match the saw type to the material and the job.
For porcelain tile and dense stone, a diamond-grit rim is generally suitable, but the cutting method matters. Wet-cut models use water to control heat and dust. Dry-cut models can be more convenient for small jobs, yet need careful pauses to prevent overheating. Follow the tool maker’s speed and cooling guidance. Slow, steady pressure helps. Let the diamonds cut.
Also consider tile thickness, access, and whether you can support the back of the workpiece.
A larger diameter removes more material and may need more control, especially near an edge. On a finished wall, check for pipes and cables before drilling. Use eye protection, secure the tile, and test on an offcut when possible. I’ve found that test holes reveal surprises, though they cannot perfectly predict every installed surface. Stop if the saw wanders, binds, or heats rapidly.
Safe Drilling, Cooling, and Maintenance Practices
A diamond hole saw needs steady cooling, not extra force. Secure the tile or stone, use a drill guide, and keep water flowing at the cutting edge. Start slowly; pressure can overheat the rim or chip glazed tile. Pause to clear slurry. Keep the work area tidy, since wet slurry can hide cracks and create a slipping hazard. Wear eye protection, and manage electrical tools away from standing water.
Water also helps control respirable silica, but it does not guarantee safe exposure. OSHA’s construction silica standard sets an eight-hour permissible exposure limit of 50 micrograms per cubic meter and an action level of 25 micrograms per cubic meter (29 CFR 1926.1153). Follow the standard’s applicable controls, and assess exposure when conditions require it. Keep slurry wet during cleanup; dry sweeping can put settled dust back into the air. A respirator may be needed under the site’s exposure-control plan.
Inspect the saw before each cut. Look for a loose arbor, damaged segments, or a rim that has become glazed; stop if anything feels abnormal. Rinse the tool and hole saw after use, then dry them before storage to limit corrosion. Small checks matter. It is easy to rush cleanup, and that is often where good dust control slips.