Request a Quote

Leave Your Message
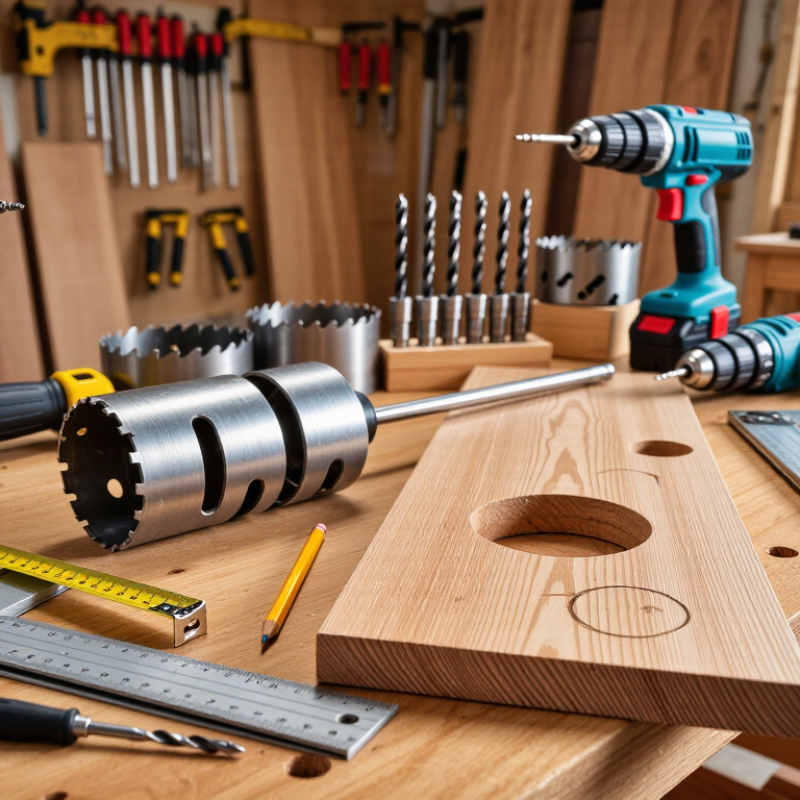
Choosing the right Door Hole Saw can decide whether a door installation looks professional or painfully improvised. A clean 2-1/8-inch bore needs more than a sharp blade. Door thickness, material, lockset size, and drilling control all matter. One wrong choice can splinter veneer, overheat the teeth, or leave the latch hole slightly misaligned.
Veteran builder Tom Silva has often repeated, “Measure twice, cut once.” That simple advice remains valuable when selecting a Door Hole Saw. Before drilling, measure the lockset template and confirm the backset, commonly 2-3/8 or 2-3/4 inches. Check the door’s thickness, too. A hole saw with a strong pilot bit helps prevent wandering on painted or laminated surfaces. For solid wood, bi-metal teeth usually provide dependable cutting. Carbide-grit models may perform better on tougher composite materials.
Small details matter.
This guide examines seven practical tips for choosing the right Door Hole Saw. It considers tooth design, diameter, pilot-bit stability, cutting speed, and material compatibility. It also addresses arbor quality and cleanup after drilling. From years of workshop experience, I have learned that the most expensive tool is not always the best one. Sometimes, a modest saw cuts cleaner because its pilot bit fits the job better. I still make mistakes when I rush the layout. That is worth admitting. Product descriptions can also sound impressive while hiding poor compatibility. Careful checking remains more reliable than confident guessing. With the right preparation, the saw should follow your measurements, not replace them.
7 Tips for Choosing the Right Door Hole Saw
Understanding Door Hole Saw Sizes and Cutting Requirements
Door preparation starts with accurate measurements, not the saw. ANSI/BHMA A156.2 identifies common bored-lock dimensions, including a 2-1/8-inch face bore and a 1-inch edge bore. These sizes fit many residential locksets, but they are not universal. Check the hardware template before cutting. A 2-3/8-inch backset is common, while some doors use 2-3/4 inches. Measure from the door edge to the bore center. Small errors can leave the latch misaligned.
Material changes the cutting requirement. A bi-metal hole saw usually suits wood, steel-skinned doors, and composite panels. Carbide-grit cutters handle abrasive materials better, but they need steadier pressure. For a standard 1-3/4-inch exterior door, choose a saw with enough cutting depth to pass through cleanly. Clamp a scrap backing board behind the exit point. It reduces splintering and protects the finished surface. I have rushed this step before. The hole looked acceptable, but the latch plate sat unevenly.
Fire-rated doors require greater care. NFPA 80:2022 limits field modifications to approved procedures and compatible hardware. Do not assume a normal hole saw is suitable for a labeled assembly. Review the door’s listing, hardware schedule, and manufacturer instructions. A pilot bit that wanders can ruin the alignment. Slow speed works better than force. Test the layout on scrap material first, especially when the door has metal reinforcement or a narrow stile.
| Tip | Door Feature or Requirement | Common Hole Saw Size | Typical Application | Material and Cutting Requirements | Important Selection Notes |
|---|---|---|---|---|---|
| 1 | Primary lockset bore | 2-1/8 in (54 mm) | Most residential cylindrical locksets, latch sets, and many electronic door locks | Use a sharp bi-metal hole saw for wood, composite, and thin metal-faced doors. Support the exit side to reduce splintering and surface breakout. | Confirm the lock manufacturer’s template before cutting. A 2-1/8 in bore is common, but it is not universal for every lock design. |
| 2 | Compact lockset or specialty bore | 1-3/4 to 2 in (44–51 mm) | Some narrow-body locks, cabinet-style door hardware, and specialty access hardware | Choose the exact diameter specified by the hardware template. Use moderate drill speed and steady pressure to prevent an oversized or irregular opening. | Do not substitute a 2-1/8 in saw when the lock requires a smaller bore; excessive clearance can weaken the mounting area and prevent proper installation. |
| 3 | Latch edge bore | 1 in (25 mm) | Cross-bore through the door edge for a standard tubular latch or deadbolt latch | A short, rigid 1 in hole saw or appropriate boring bit is suitable for wood doors. Keep the tool square to the door face to align the bore with the lockset hole. | Measure the door thickness and mark the centerline carefully. The edge bore must meet the face bore without breaking through the wrong surface. |
| 4 | Backset compatibility | 2-3/8 or 2-3/4 in (60 or 70 mm) | Distance from the door edge to the center of the main bore | Backset is controlled by the layout, not by the hole saw diameter. Use the hardware template or adjustable latch setting to position the pilot point accurately. | Measure from the finished door edge to the center of the bore. A correctly sized saw can still produce an unusable hole if the backset is incorrect. |
| 5 | Door thickness | Commonly 1-3/8 or 1-3/4 in (35 or 45 mm) | Interior and exterior residential doors, depending on construction | Select a mandrel, pilot bit, and hole saw with enough cutting depth to pass through the door. For thick or reinforced doors, use staged cutting from both sides when permitted. | Check the lockset’s allowable door-thickness range. A hole saw diameter does not determine whether the hardware will fit the door thickness. |
| 6 | Door material | Size depends on the hardware template | Solid wood, hollow-core wood, MDF, composite, fiberglass, and thin metal-faced doors | Use tooth geometry appropriate to the material. Clear chips frequently in wood, reduce heat in metal, and use low pressure on fiberglass or laminate surfaces to limit cracking. | For steel or heavily reinforced doors, verify that the hole saw is rated for metal and inspect for electrical wiring, reinforcement plates, or other concealed obstructions. |
| 7 | Cut quality, safety, and finish | Match the exact required diameter | Clean lock openings with minimal tear-out, wandering, or surface damage | Use a sharp pilot bit, clamp a sacrificial backing board where possible, mark both faces, and wear eye protection. Keep the drill aligned and avoid excessive feed pressure. | For a clean result, begin from the finished side and complete the cut from the opposite side after the pilot bit creates a reference hole. Test-fit the hardware before final installation. |
Measurement reminder: Always follow the door hardware template because bore diameter, backset, door thickness, and edge-bore requirements can vary by lock design. Remove or avoid concealed wiring, reinforcement, and other obstructions before cutting.